
For those who’re contemplating transplanting or repotting your aloe, it’s essential to do it correctly to advertise its well being and longevity.
Whether or not you’re doing it for aesthetic causes or as a result of your plant has outgrown its present container, following the directions in our information will assist guarantee profitable transplanting or repotting.

We hyperlink to distributors that can assist you discover related merchandise. For those who purchase from certainly one of our hyperlinks, we might earn a fee.
The kind of aloe crops we’re overlaying on this information are the widespread ones that develop low to the bottom. You’ll be able to learn extra about these and different sorts of aloe in our roundup.
Proceed studying under to find out how simple it’s to repot your succulents in three easy steps.
Right here’s what we’ll cowl:
3 Easy Steps to Transplant or Repot Aloe
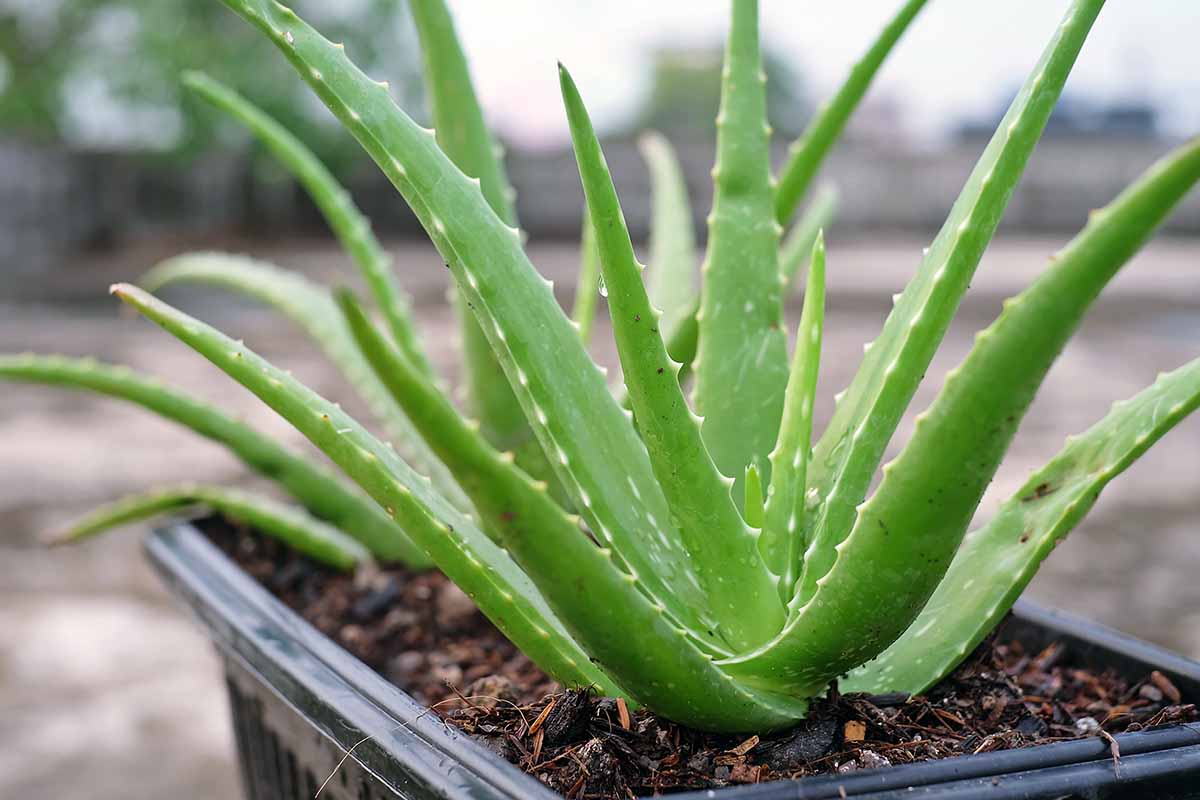
1. Getting Began
First, select a pot barely bigger than the present one, and ensure it has drainage holes.
These succulents thrive in well-draining soil, so deciding on a pot with correct drainage is important. For those who’re planting within the floor, select an space with full solar and quick soil drainage.
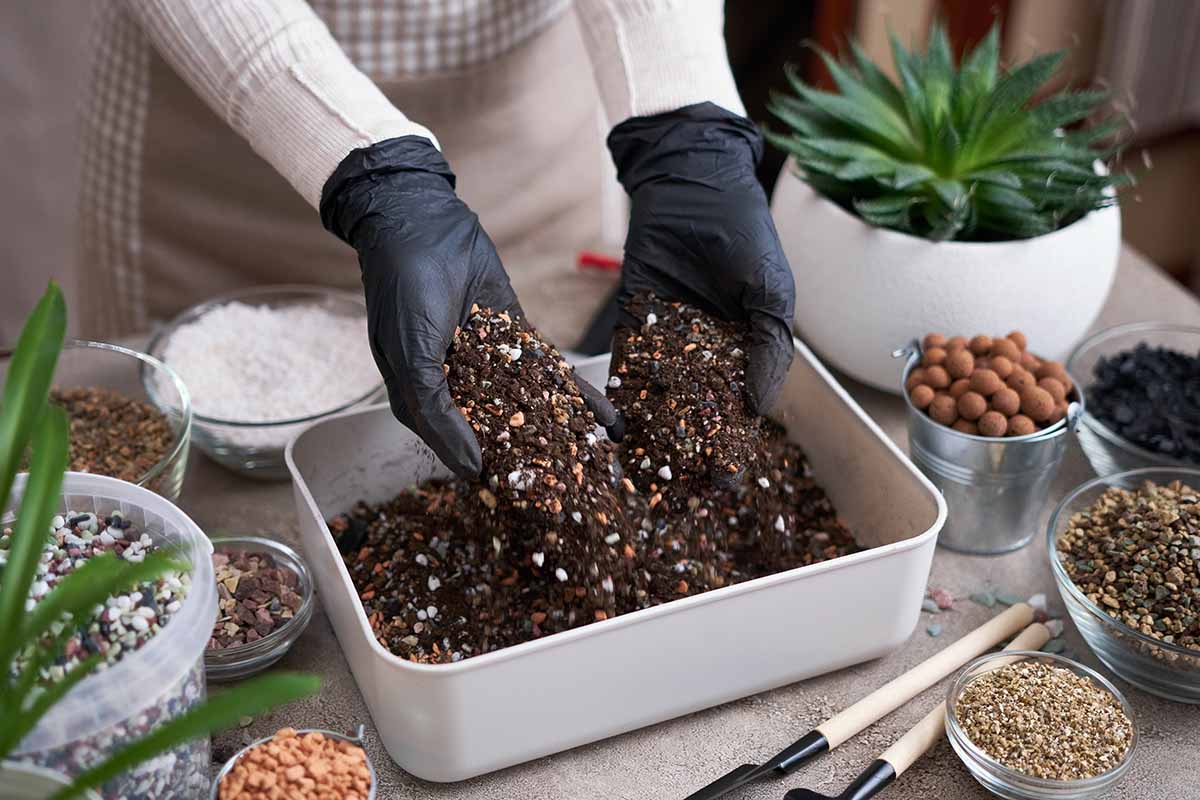
Subsequent, for repotting, put together the soil by mixing equal components sand, perlite, and potting soil to create a well-draining mix.
You’ll be able to learn extra about making your personal succulent potting combine in our information. Keep away from utilizing common backyard soil because it holds an excessive amount of moisture, which might trigger root rot.
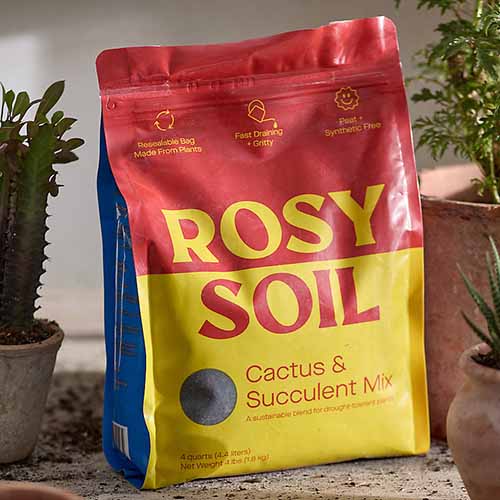
Rosy Soil Cactus and Succulent Combine
For those who’re seeking to buy the right soil mix suited to succulents, do this Rosy Soil Cactus and Succulent Combine, accessible at Terrain.
2. Dig It Up or Unpot
Most aloes will have to be repotted after a number of years, particularly in case your plant’s progress is slowing down.
A couple of extra indicators to look out for might point out your succulent has outgrown its container or turn out to be overcrowded:
- The roots might seem from the drainage holes on the backside of the pot.
- The plant might turn out to be top-heavy and start to lean over.
- New leaves could also be smaller and fewer vibrant in colour.
For those who discover any of those indicators, it might be time to repot your aloe into a bigger container!
The very best time to transplant is throughout the spring season. That is when the plant is actively rising and may higher alter to its new atmosphere – though, the place I reside in Southern California, these succulents may be transplanted at any time!
In case your aloe is flowering and also you wish to transplant it, simply lower the flower stalk earlier than you begin the method.
For those who discover new crops, or pups, rising round your succulent, they will simply be divided to start out new crops.
By doing that, you’ll give your plant more room to thrive earlier than having to repot or transplant it. Discover ways to propagate aloe pups in our information.
When eradicating the plant from its present pot or rising house, gently loosen the soil round it with a hand trowel or shovel, relying on the scale, and thoroughly take away it.
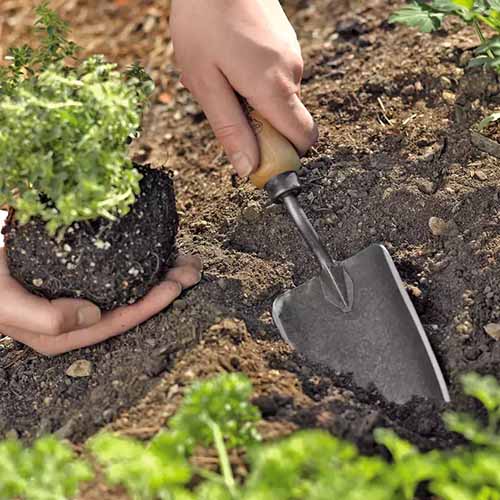
This Gardener’s Lifetime Trowel is tremendous sturdy, making it the right device for digging, planting, and mixing soil. You will get certainly one of your very personal from Gardener’s Provide Firm.
If the roots are tightly sure, you need to use a clear knife or pruning shears to chop by them.
As soon as the plant is out of the pot or its in-ground spot, examine the roots for any broken or brown, discolored, or smooth parts and take away them with sanitized sharp scissors.
3. Transplanting or Repotting
Place the plant within the new pot, making certain it’s on the similar depth as within the earlier pot. Add some soil across the roots and gently press it down.
If planting within the floor, dig a gap double the scale of the basis system after which place it in that house, filling in any additional house with the soil you dug up.
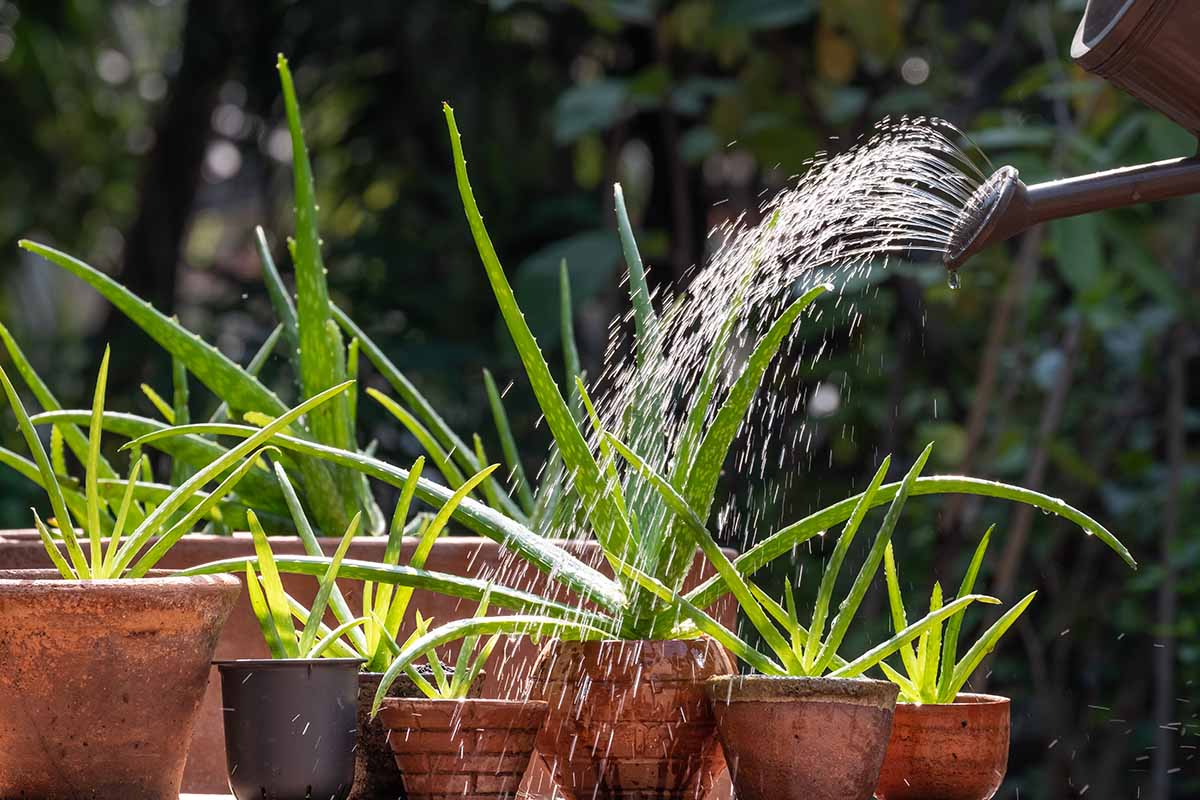
Give the plant a deep drink of water to assist it settle into its new house.
Keep in mind to decide on a brand new in-ground location or place your newly potted plant in a vibrant spot with loads of gentle. Aloes want vibrant, oblique daylight to thrive.
Lastly, await the soil to dry out fully earlier than watering once more. Overwatering can hurt these succulents by creating circumstances good for root rot.
You’ll be able to be taught extra about find out how to develop and take care of aloe vera by studying our information.
Give Your Aloe a Recent Begin
Following these easy steps, you may confidently transplant or repot your aloe and guarantee its wholesome progress by giving it a brand new lease on life.
When you full the method, you’ll be a professional capable of assist different gardeners do the identical.
Do you periodically repot or transplant your succulents? Remark under together with your expertise to assist encourage different gardeners.
Develop your understanding of aloe by studying these articles to realize extra precious insights about this unimaginable succulent: